Upgrading vRSLCM (vRealize Lifecycle Manager) to 8.10
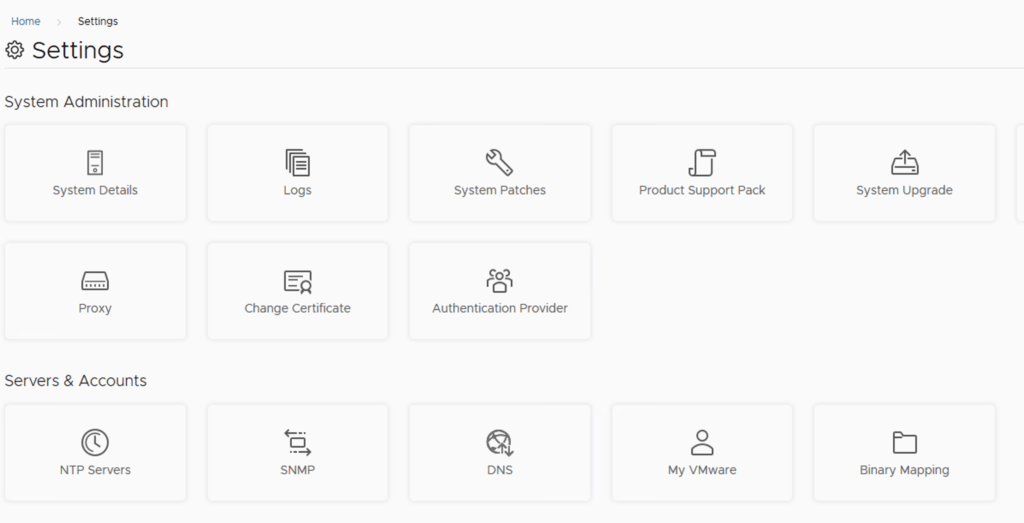
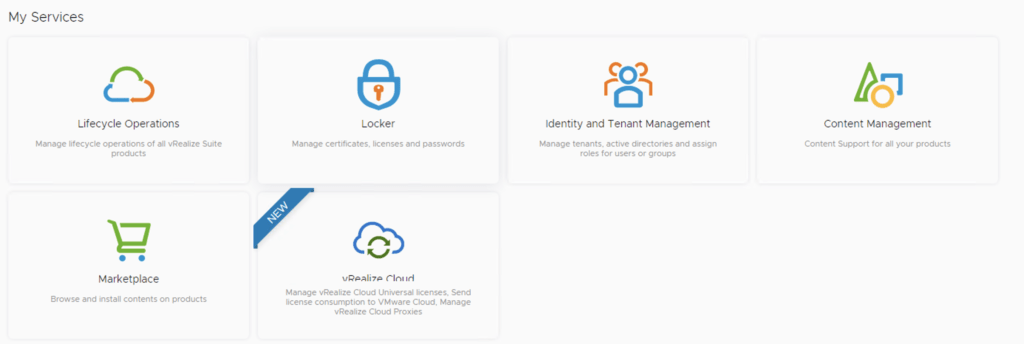
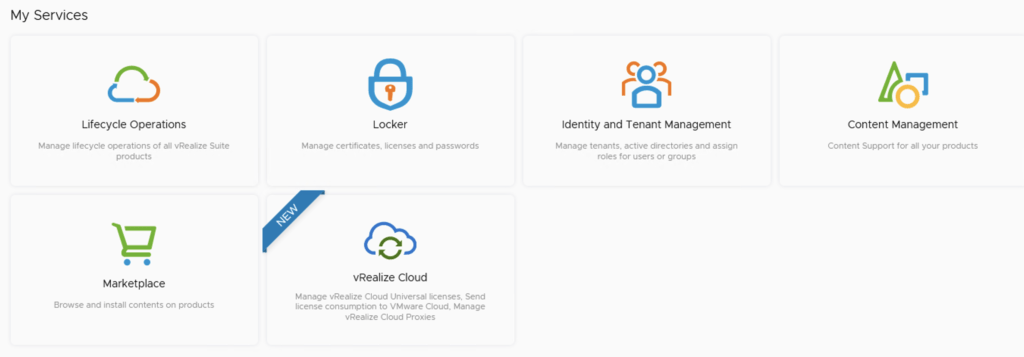
In this guide i will go over the steps of getting an existing 8.x vRSLCM appliance upgraded to the latest 8.10 release. The release notes can be found here The first step is to log in to vRealize Suite Lifecycle Manager under the Lifecycle Operations section Go to settings -> System Upgrade Click on Check for Upgrade We can see that the check found a new version available for 8.10 ...