In this blog we will go over replacing the cluster manager Corfu certificate in NSX. In this example I will be using the UI to generate the self signed certificate and then an API call to replace the certificate.
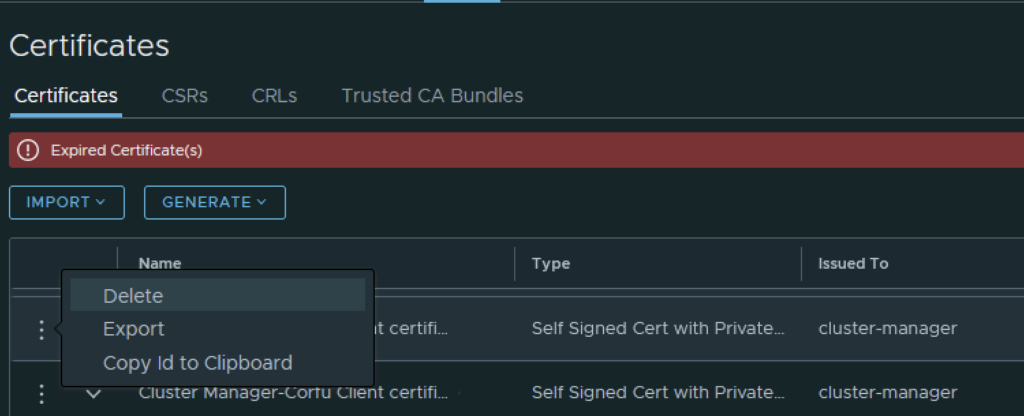
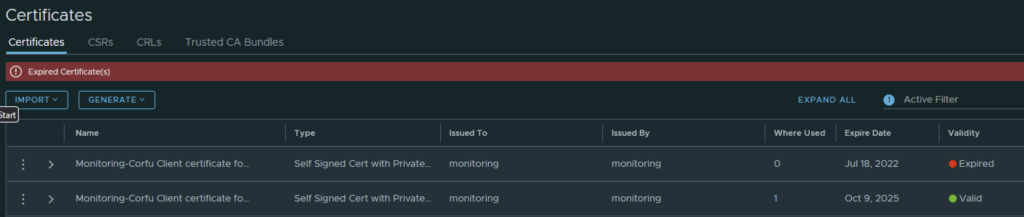
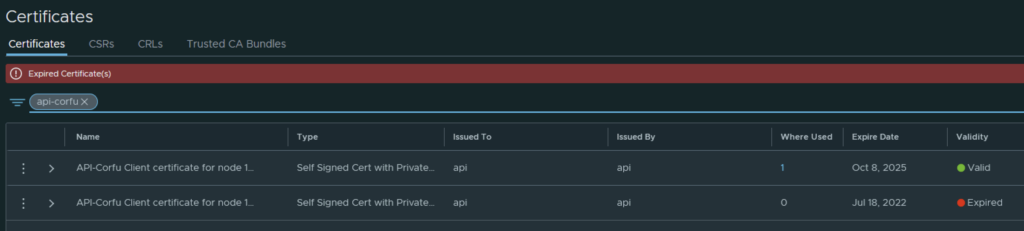
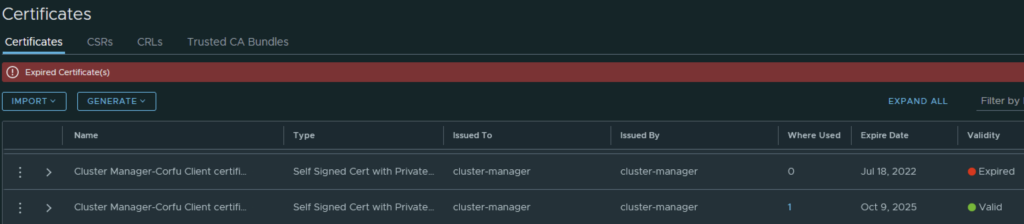
In my case the cluster manager Corfu certificate has already expired

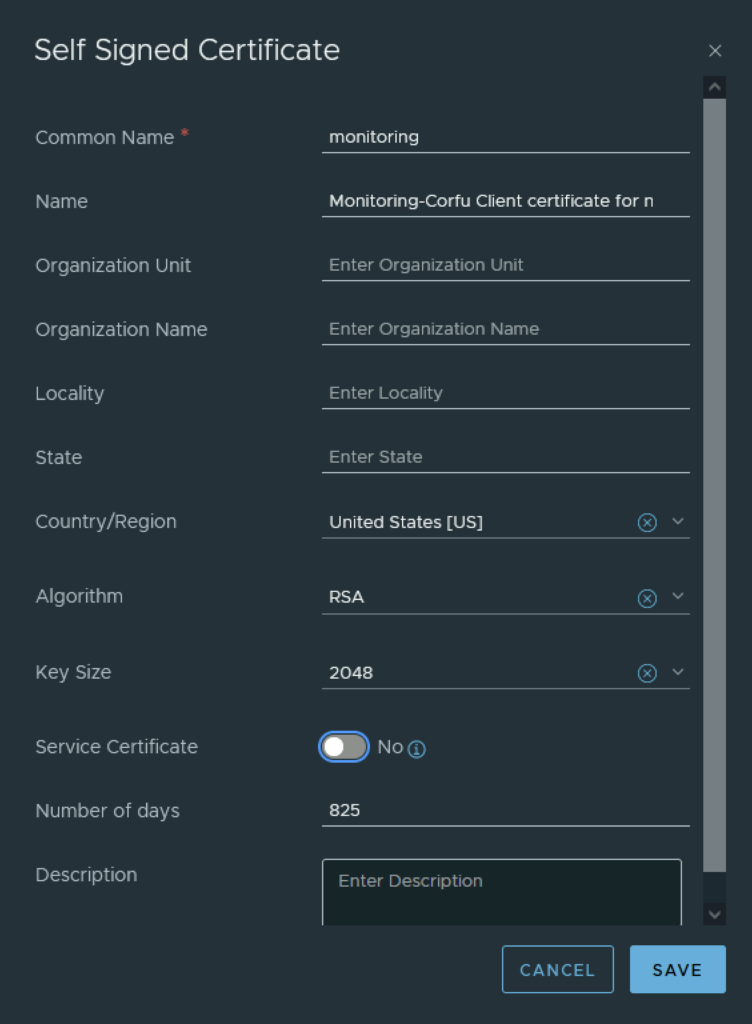
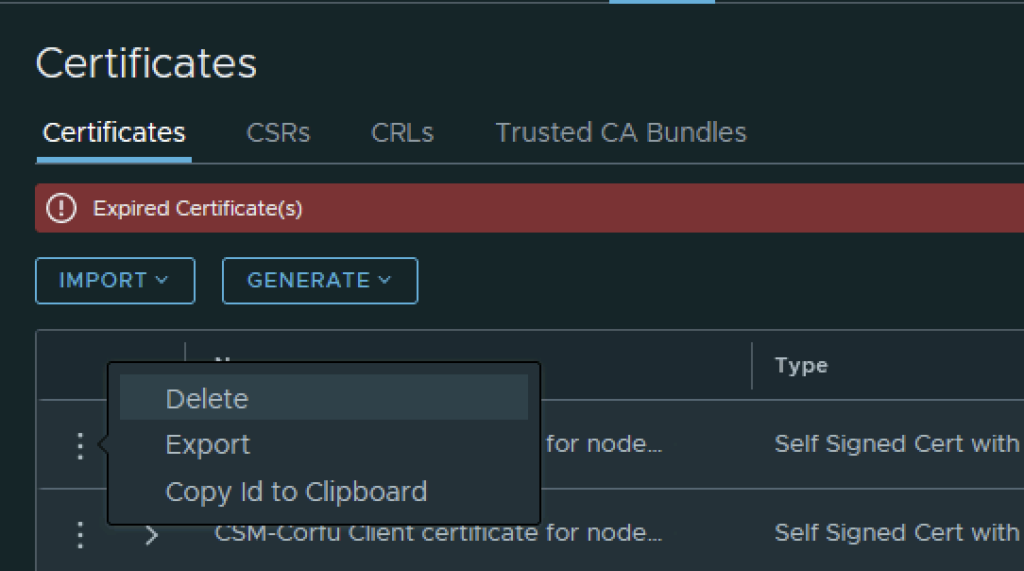
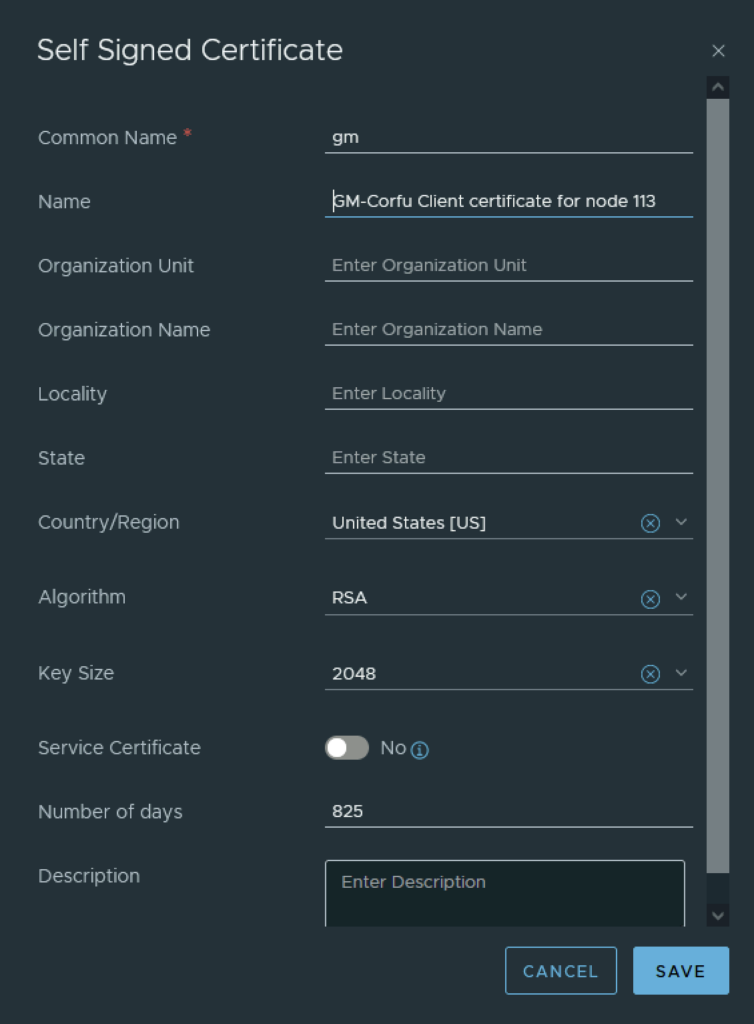
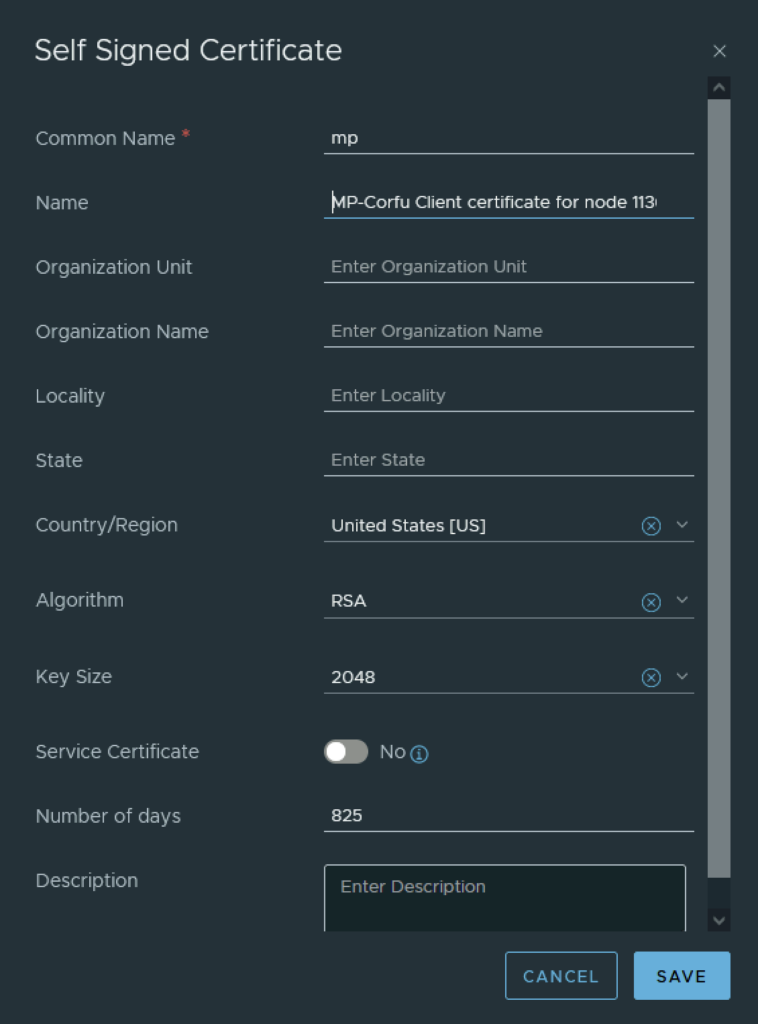
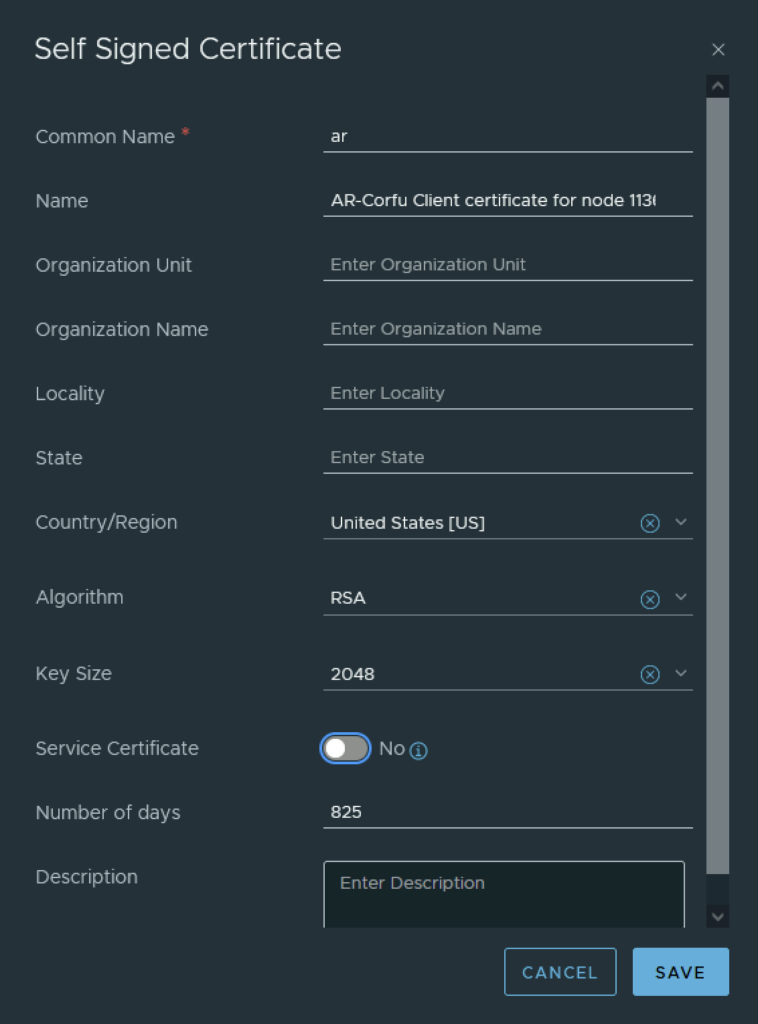
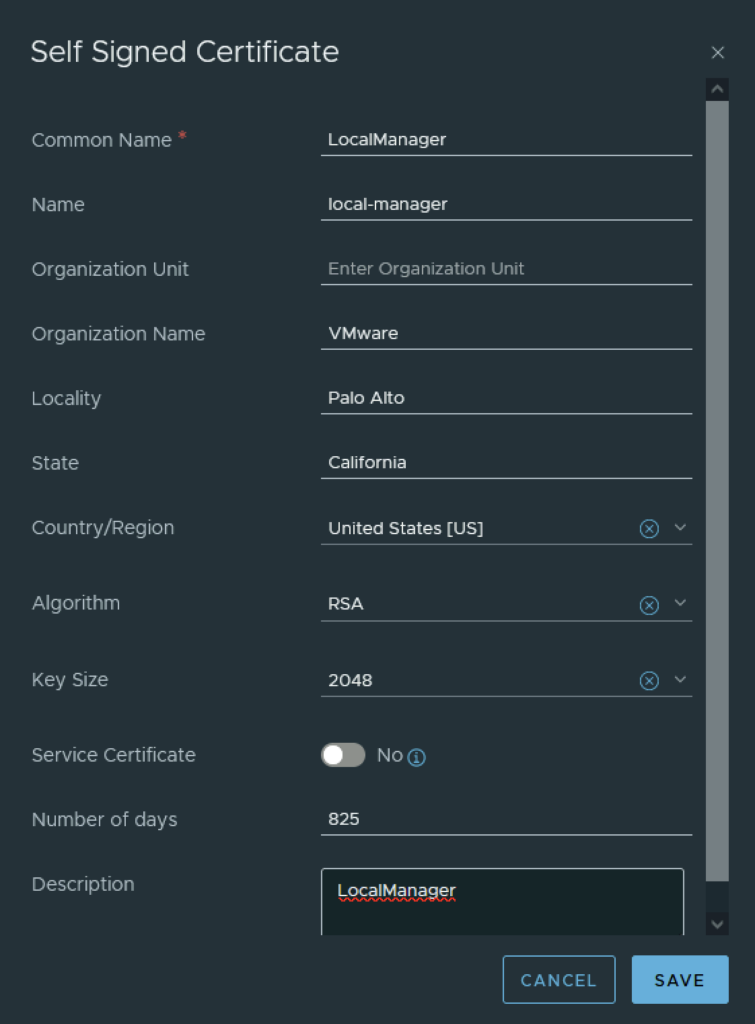
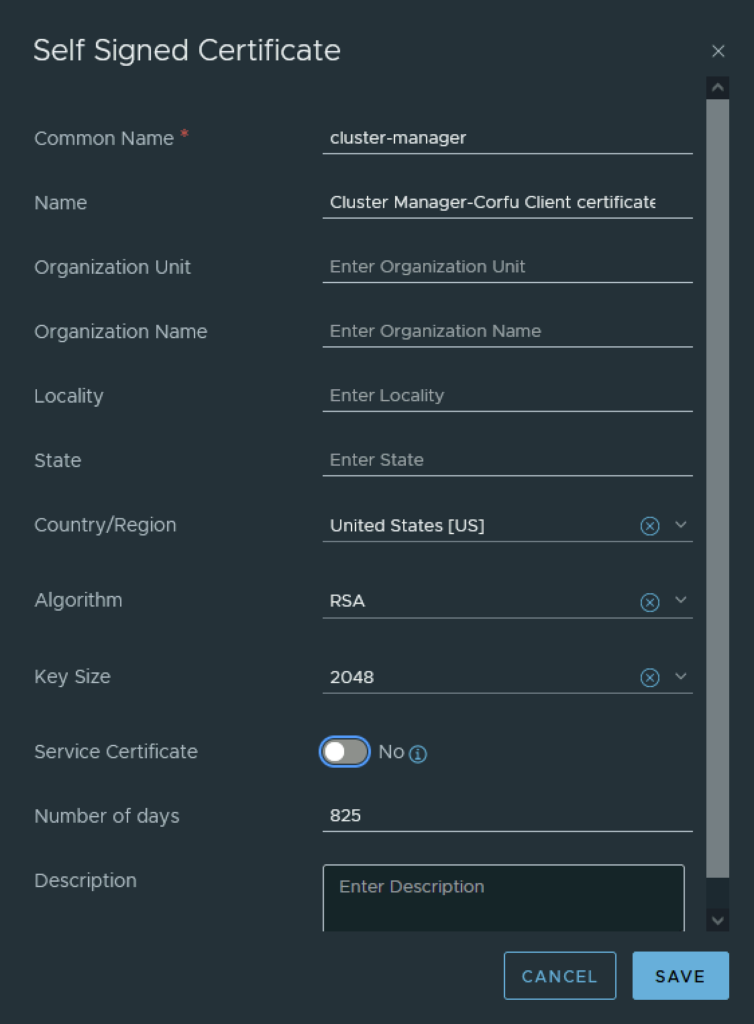
In the top menu bar I went to Generate -> Generate Self Signed Certificate
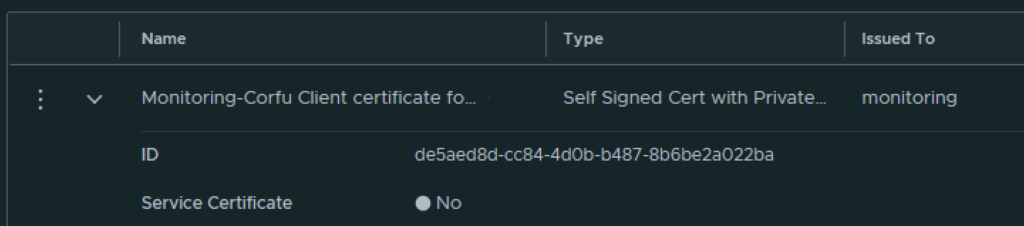
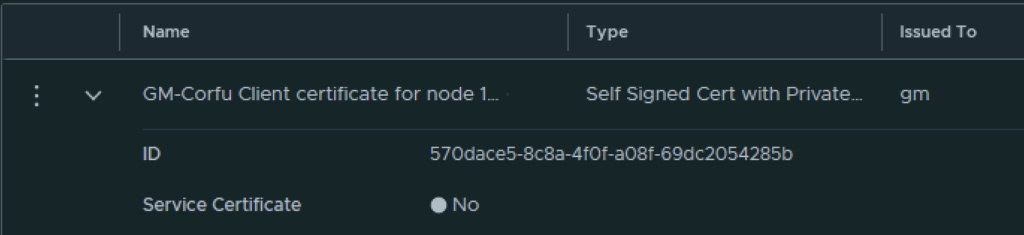
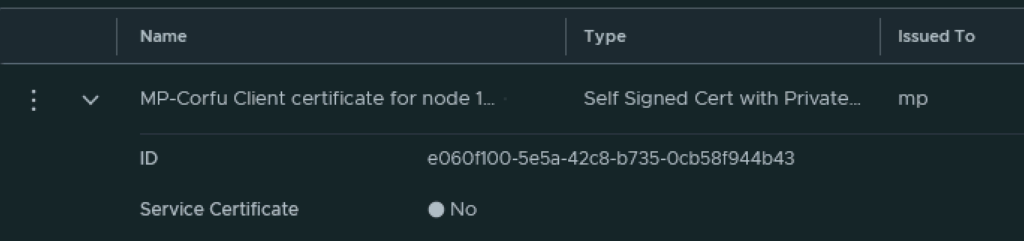
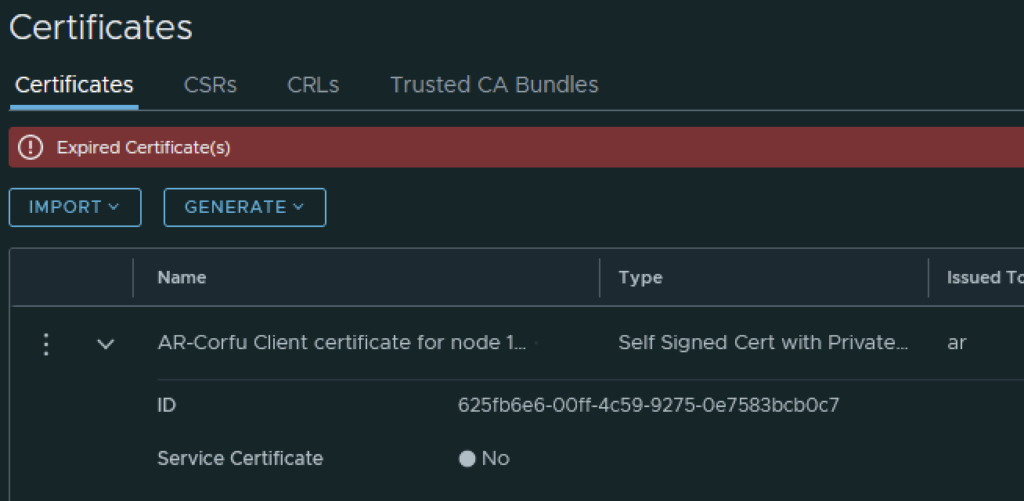
Next I had to grab the new certificate ID

The next step is to replace the old certificate with the new certificate via an API call. For this I used Postman but any other tool could potentially be used.
The URL for the post call would go against https://nsx-vip-01a.corp.local/api/v1/trust-management/certificates/cert_id?action=apply_certificate&service_type=CBM_CLUSTER_MANAGER&node_id=node_id
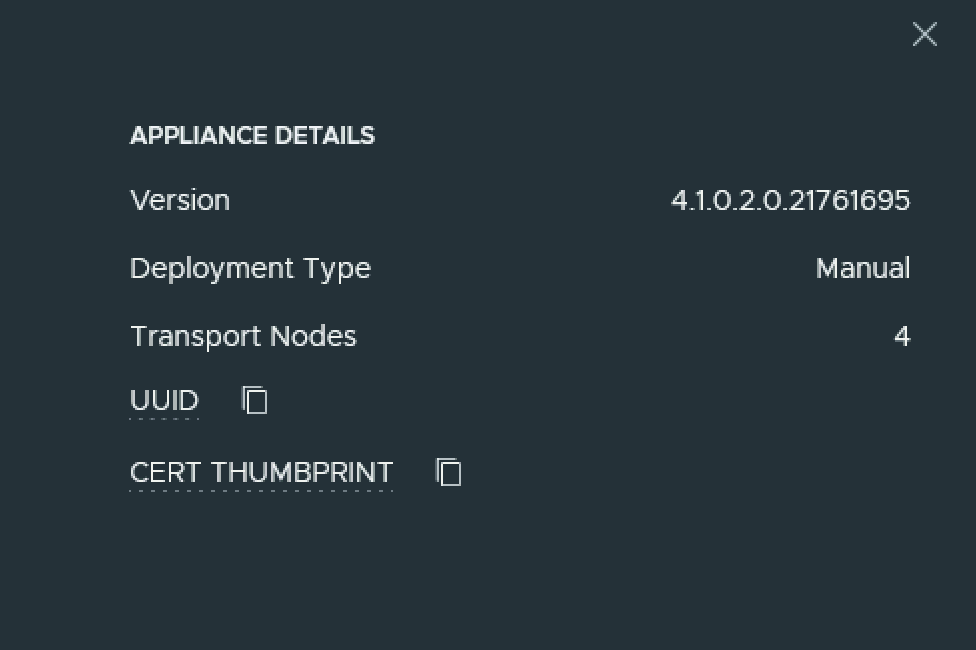
The node ID can be found under Appliances -> View details on node, the value to the right for UUID ex
For authentication I used basic, per best practices we should be using a token.
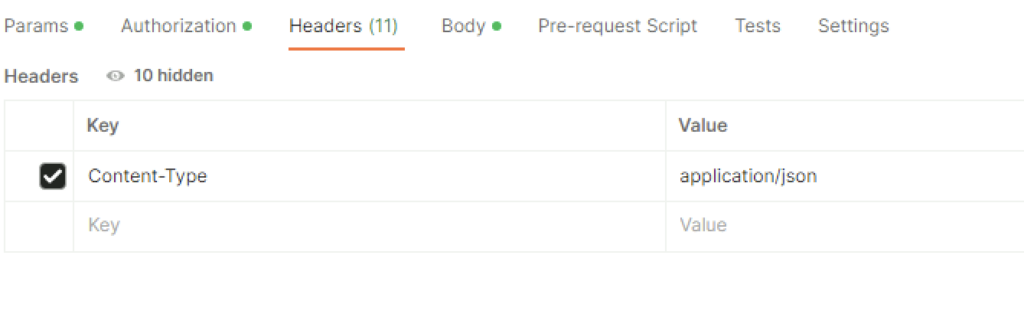
For headers had to add Content-Type application\json ex
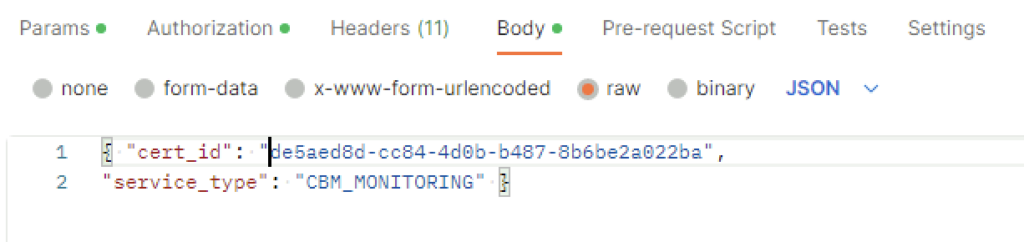
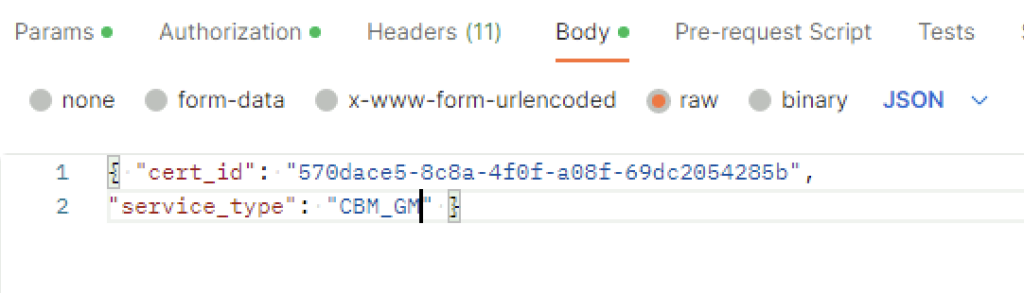
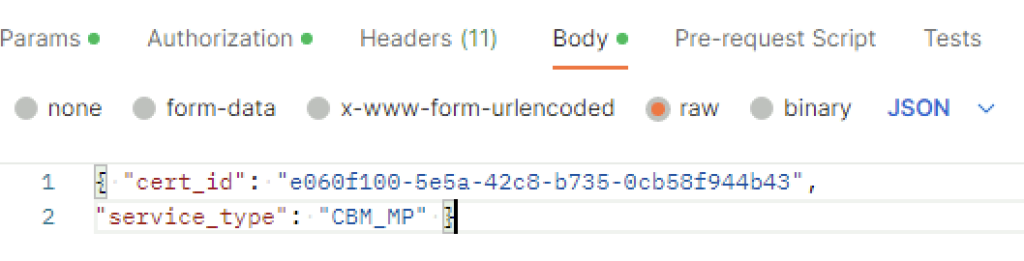
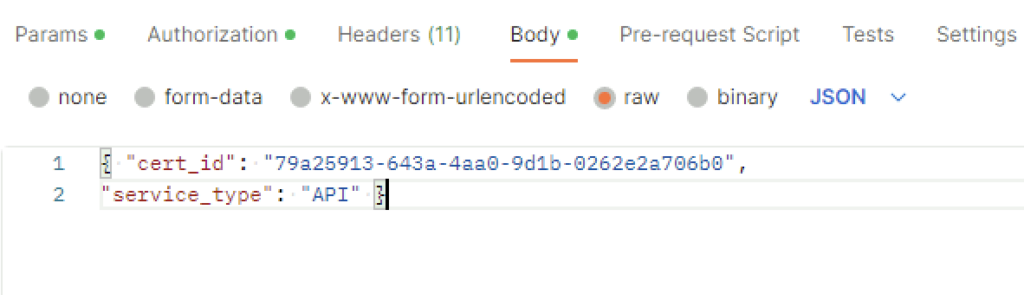
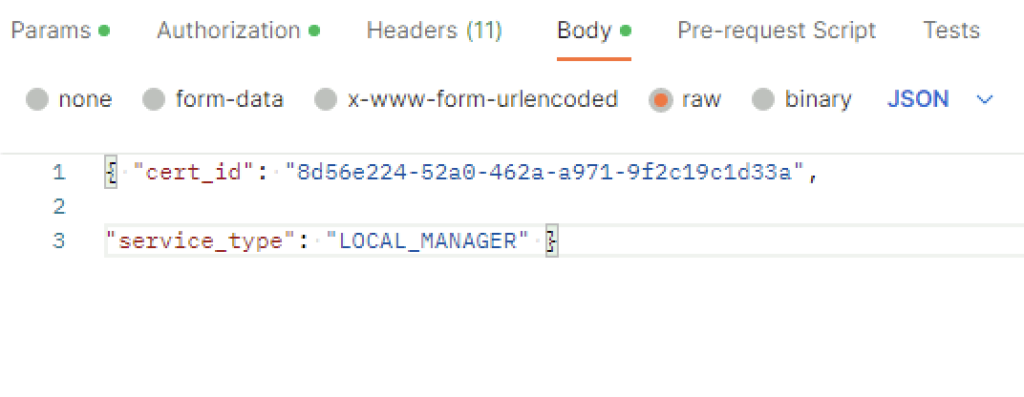
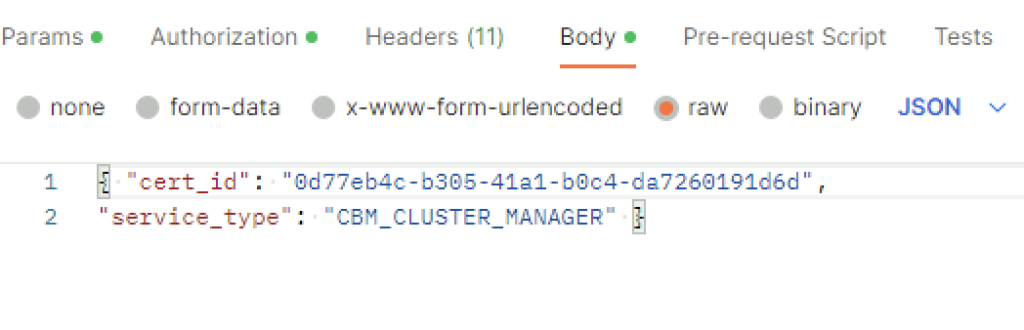
In the body I picket raw and added the following in
{ "cert_id": "0d77eb4c-b305-41a1-b0c4-da7260191d6d",
"service_type": "CBM_CLUSTER_MANAGER" }
The cert ID is from the certificate I generated earlier. ex
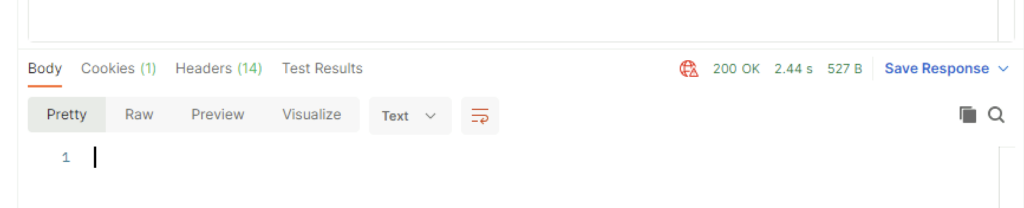
Once I clicked send I was presented back with a 200 OK
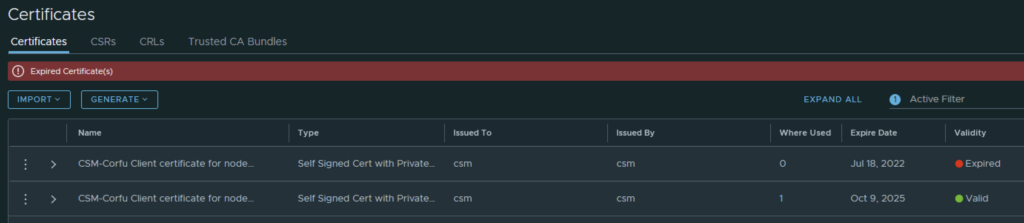
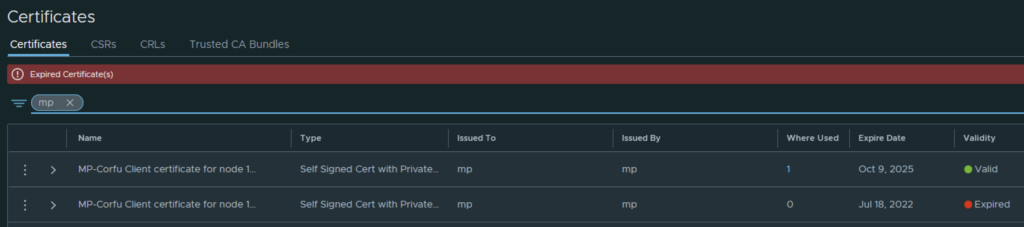
Going in the web browser I can also see that the new certificate is now used and the old one doesn’t have anything assigned to it ex
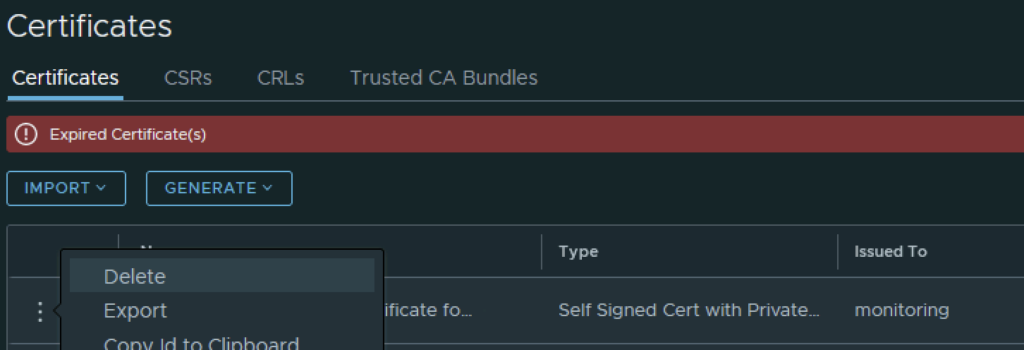
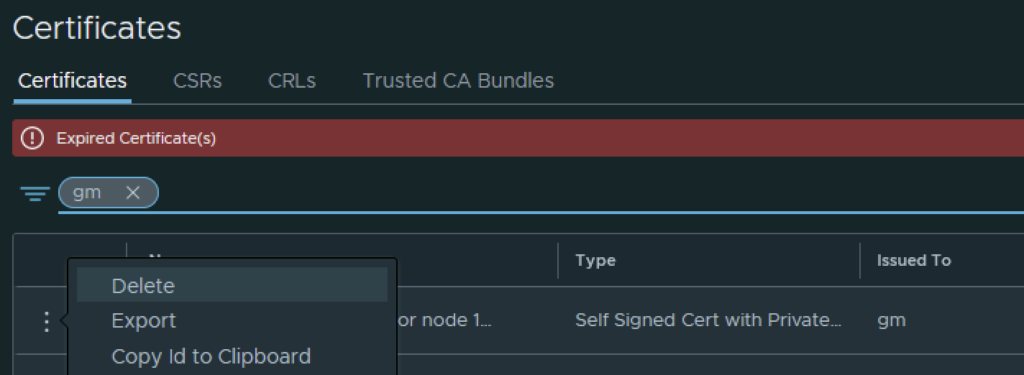
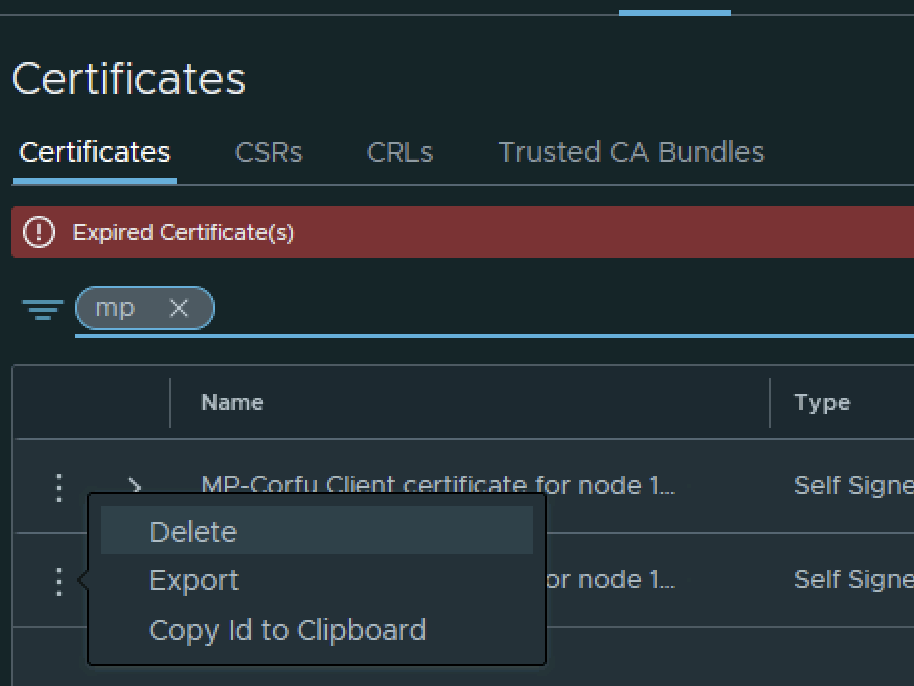
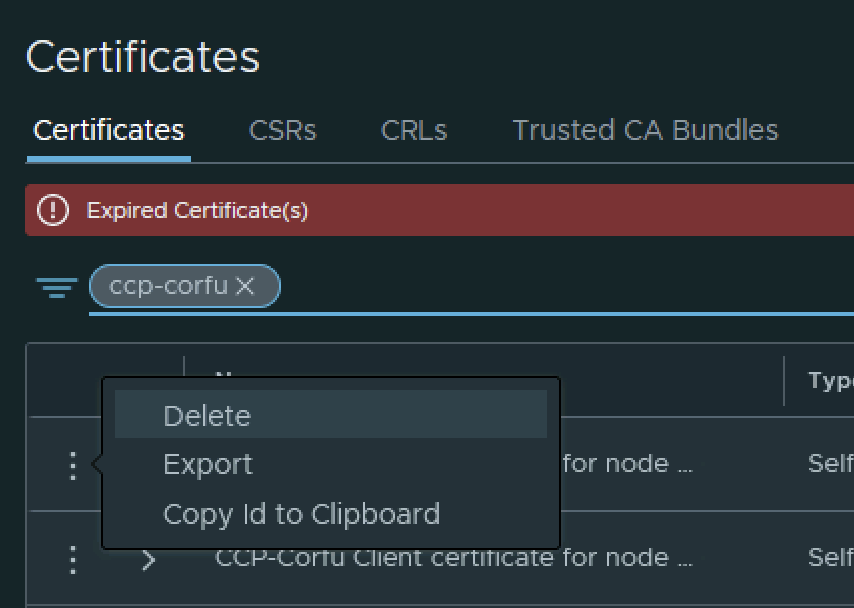
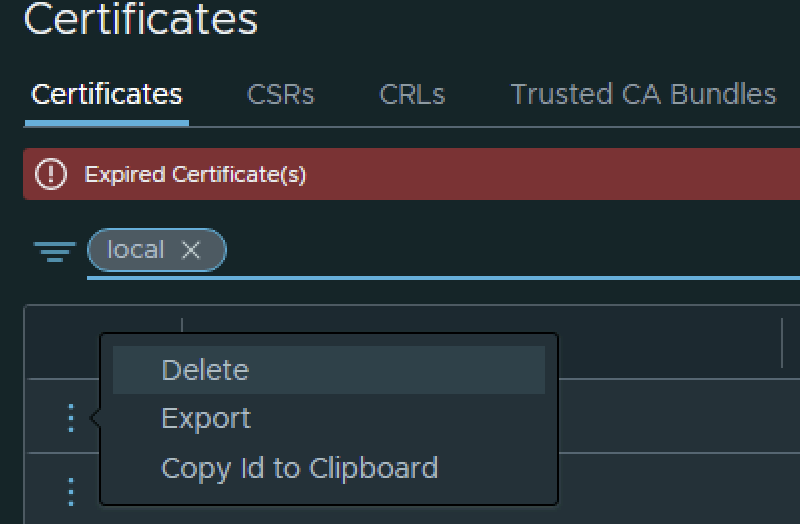
The final step I did was removing the old certificate by clicking on the 3 dots to left and picking delete from the menu