Upgrading VCF 4.3.x to VCF 5 Step by Step
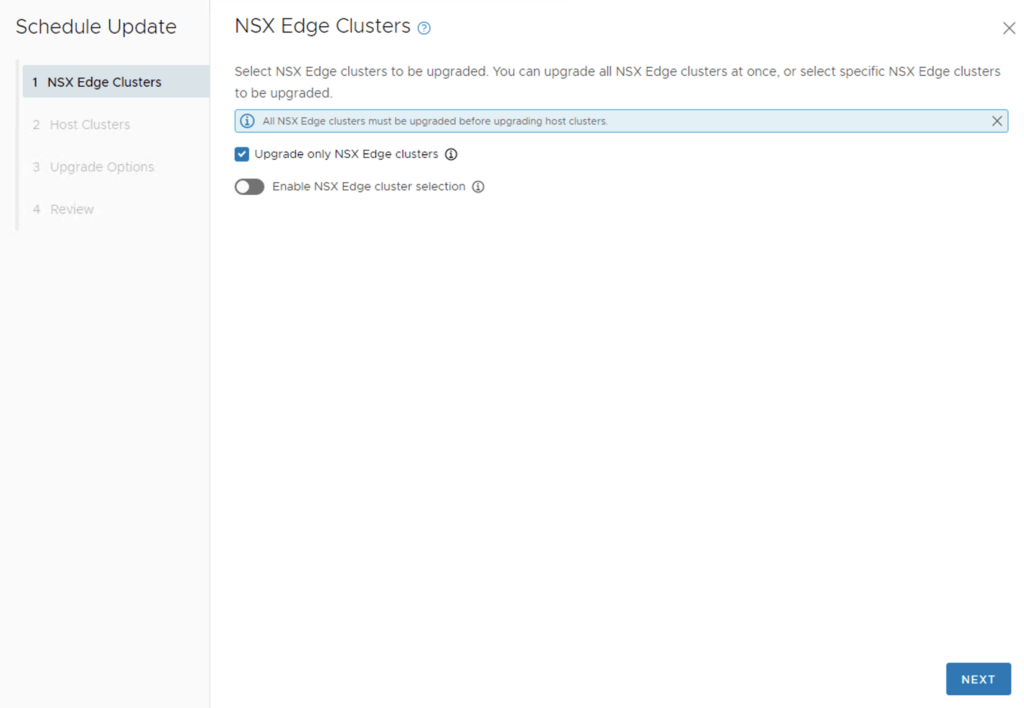
With the release of of VCF 5 I wanted to get my lab upgraded. The release blog can be found here and the release notes are here Please note that some of the components within the VCF will still need additional upgrading. Please read the release notes for additional details. We can start by going to Inventory -> Workload Domains -> Select the domain -> Update/Patches -> Select the VCF version -> Download now. If you do not see the newest releases go to Administration -> Online Depot and add a VMware Customer Connect account that has access to perform downloads. ...