Upgrading VMware Aria Automation Config to 8.14.1
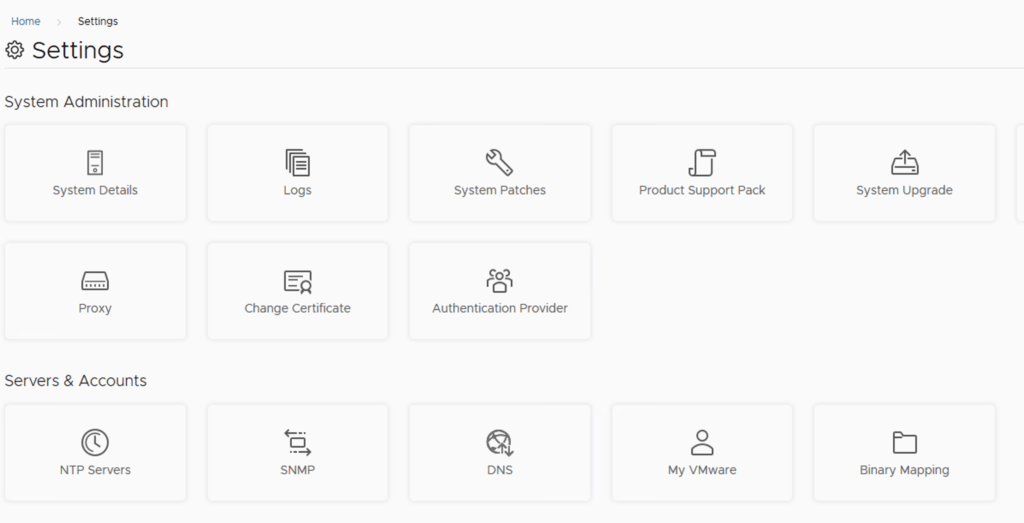
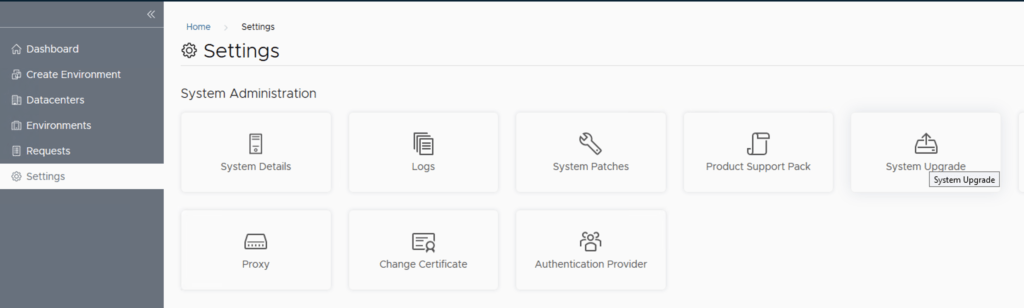
In this post i will go over upgrading my 8.x SSC appliance to 8.14.1. As a pre requirement we do need to have VMware Aria Suite Lifecycle upgraded to 8.14. Instructions can be found here. The upgrade does not include the latest PSPACK that contains the 8.14.1 Aria Automation Config release. Instructions to get the PSPACK can be found on my other blog post here. To get started we can go to VMware Aria Suite Lifecycle -> Lifecycle Operations -> Settings -> Binary Mapping. (If you haven’t added your My VMware credentials you will need to do that first by going to VMware Aria Suite Lifecycle -> Lifecycle Operations -> Settings -> My VMware) ...