In this blog post I will go over the steps I took in order to to be able to query my vRA components from SaltStack using the SDDC SaltStack Modules. The SDDC SaltStack Modules were introduced in 2011. You can find the technical release blog here. The modules can be found on GitHub here. There is also a getting quick start guide that can be found here. The vRA module which needs to be installed manually can be found here.
The first step was to create the /srv/salt/_modules folder as it does not exist by default
mkdir -p /srv/salt/_modulesIf you don’t have git installed it can be easily installed by running:
yum install -y gitThis will also install the dependencies:
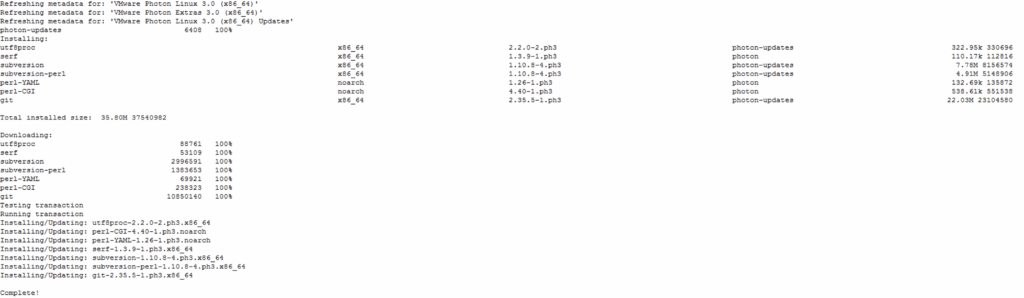
Once completed we can run the below to clone the repo. Make sure you are in the /srv/salt/_modules directory
git clone https://github.com/VMwareCMBUTMM/salt_module_for_vra.git
As per documentation the python script should be in /srv/salt/_modules/ however with the git clone it actually created a subdirectory. To fix it i ran:
mv /srv/salt/_modules/salt_module_for_vra/* /srv/salt/_modules/Now that i had the module in the proper location, I had to let salt know by running a sync
salt-call saltutil.sync_modulesor to sync it across all minions
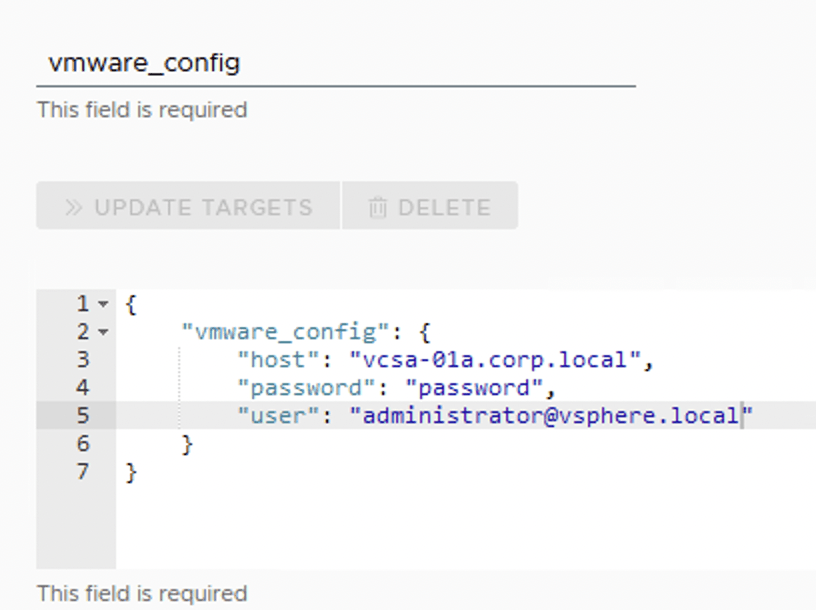
salt '*' saltutil.sync_modulesLooking at the api documentation found here i picked on getting detail for my vsphere cloud account using the get_ca_by_name function. For the purposes of my test i did a salt-call. Per the documentation we need to include the function, username, password and account. It looked like this in my environment:
salt-call vra.get_ca_by_name vra-01a.corp.local administrator password vcsa-01a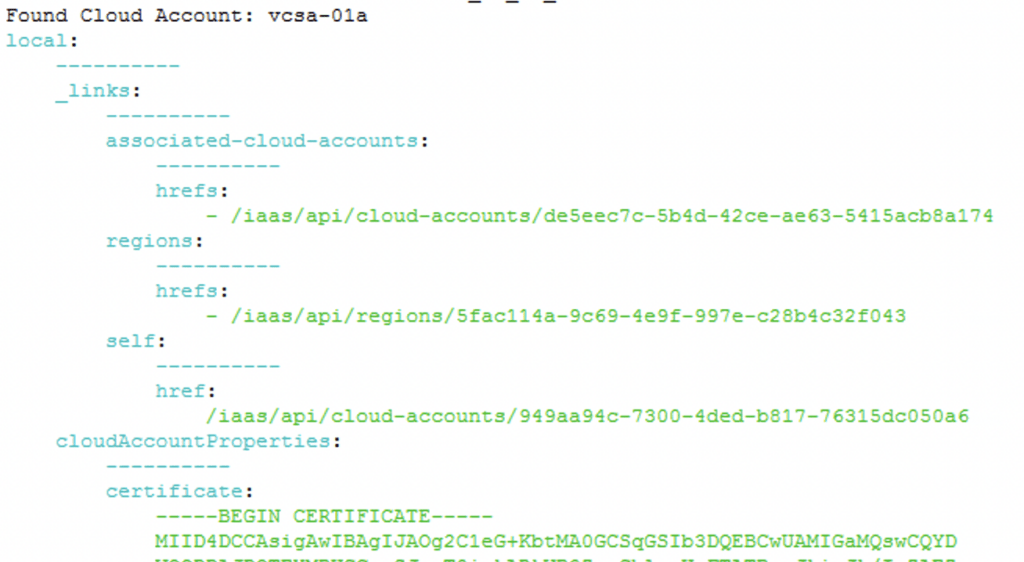
Next i wanted to see if i can create a cloud account. Based on the API reference i can use the create_vsphere_ca followed by vra_url, username, password, vcenter anme, vcenter username, vcenter password, name i want for the account, region to add from vcenter. It looked like this in my environment:
salt-call vra.create_vsphere_ca vra-01a.corp.local administrator password vcsa-01a.corp.local [email protected] password vcsa-01a Datacenter:datacenter-3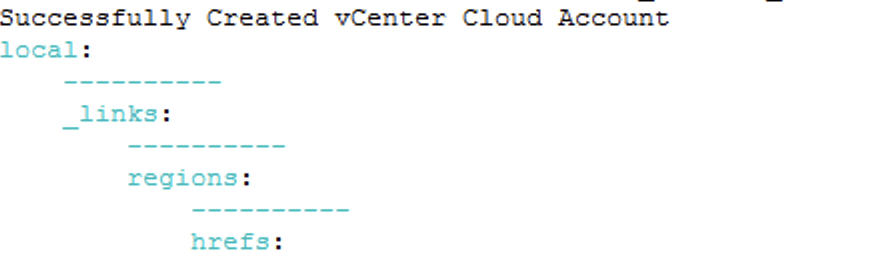
Once ran, i was able to verify in vRA that the account was created
As a remidner the API documentation can be found here
And the module can be downloaded from here
Next i would recommend looking at the example i have for vSphere found here